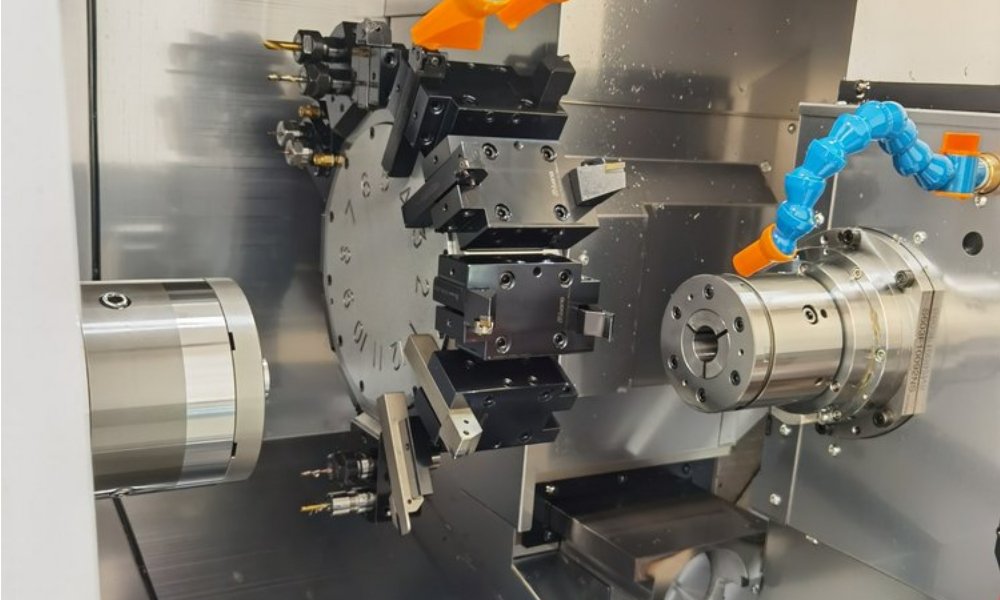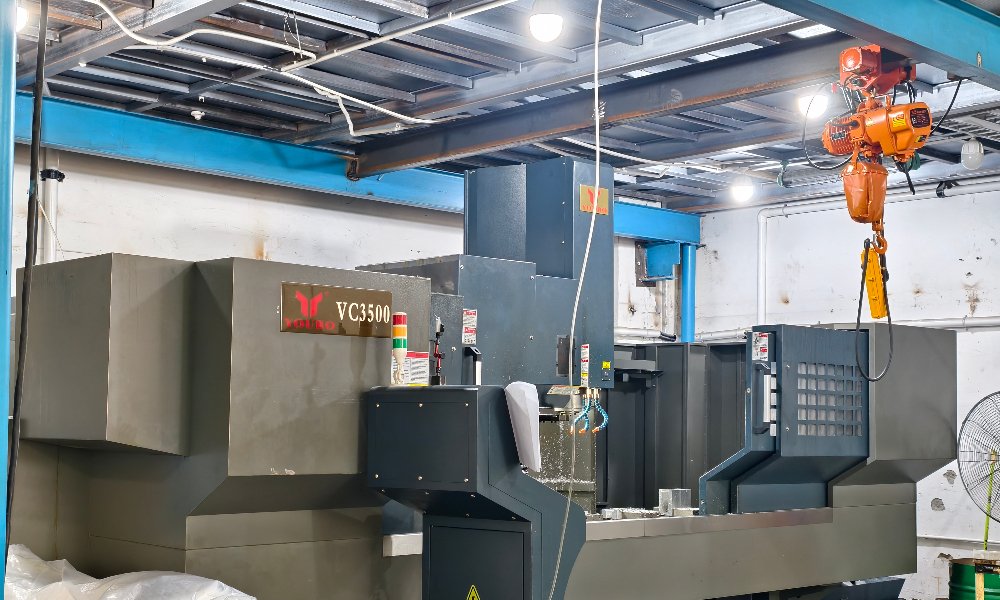
Thin wall machining separates routine CNC work from the parts that keep machinists awake at night. A wall that looks fine in CAD can chatter, deflect, or warp the moment the cutter touches it. The result is scrapped parts, blown tolerances, and surprise costs. This guide explains why thin walls misbehave, what good shops do about it, and which wall thicknesses are realistic in aluminum, steel, titanium, brass, and plastics.
Whether you are designing a lightweight drone bracket or a deep aluminum housing, the same physics apply. Address them early and thin wall machining becomes a manageable line item. Ignore them and it becomes a scrap contest.
Why Thin Wall Machining Causes Chatter and Deflection
Three forces work against you once wall thickness drops.
Cutting forces push the wall
The cutter applies sideways pressure, and a slender wall bends away from the tool. The machine then removes a different depth than programmed. When the wall springs back, the surface comes out wavy and the dimension lands off target. Thin wall machining lives or dies on this deflection loop.
Heat and residual stress
Cutting generates heat, and thin sections cannot absorb much of it. The wall expands locally, then contracts as it cools, which shifts dimensions mid-job. Heavy roughing also releases stress locked into plate and bar stock, so the part can bow between operations.
Clamping distortion
Vise pressure that holds a chunky block firmly will crush or bend a thin-walled part. The part machines true while clamped, then moves the moment it is released. Many thin wall machining failures trace back to this step rather than the cutting itself.
Wall height multiplies every one of these problems. A 1 mm wall standing 5 mm tall behaves well, while the same wall at 25 mm acts like a diving board. That is why experienced shops judge a wall by its height-to-thickness ratio, not by thickness alone.
Strategies Shops Use to Stabilize Thin Walls
Experienced shops attack all three failure modes at once. The standard thin wall machining playbook includes:
- High-speed, light cuts. High spindle speeds with small step-overs keep cutting forces low, so the tool skims the wall instead of pushing it.
- Shallow step-down passes. Roughing in thin layers leaves less material fighting the tool on each pass.
- Balanced roughing. Alternating sides of a wall cancels cutting forces instead of stacking them.
- Supportive fixturing. Custom fixtures, conformal vise jaws, or low-melt wax back the wall during finishing. Some shops leave support tabs or extra stock and remove them last.
- Stress relief between passes. On deep pockets and large plates, the part comes out of the machine, relaxes, and returns for another round.
- Sharp, high-rake tooling with climb milling to reduce pressure on the wall.
Finishing passes come last, after the wall has settled into its final shape. This sequencing is the core of reliable thin wall machining, and it is also why quotes for thin parts include more operations than they appear to need.
Toolpath order matters as much as the tools themselves. Shops rough both sides first, then semi-finish, then take one final light pass once forces and stress have settled. Each stage removes a smaller allowance, so the last cut barely loads the wall at all.
Minimum Wall Thickness Guidelines for Thin Wall Machining
These general starting points assume walls no taller than about ten times their thickness. Every machine, fixture, and geometry differs, so treat them as conversation starters rather than limits.
- Aluminum: 0.8 mm is comfortable, and short, supported walls can reach 0.5 mm.
- Steel and stainless steel: keep walls at 0.8-1.0 mm or thicker to manage higher cutting forces.
- Brass and copper: around 0.8 mm works well with sharp tooling.
- Titanium and superalloys: stay at 1.0 mm minimum, because heat and forces run high.
- Plastics such as POM, PEEK, ABS, and nylon: 1.0-1.5 mm or more, since soft polymers flex and heat easily.
Polymers deserve extra margin because they conduct heat poorly. Cutting heat stays in the wall instead of leaving with the chip, which softens the part and wrecks tolerances. If your thin wall machining project lives in plastic, add safety margin early and tell the shop the exact grade.
Have a thin-wall housing or bracket waiting for a quote? Send the model to XAP Precision for free DFM feedback with your quotation, and we will show you exactly where the walls need help.
Design Tips That Make Thin Wall Machining Easier
The cheapest wall fix happens in CAD. A few design habits remove most of the risk:
- Add ribs and gussets. Even a 1 mm rib every 15-20 mm stiffens a wall dramatically without adding much weight.
- Taper walls so they thicken toward the base. A wall that grows from 0.8 mm to 2 mm at the floor is far stiffer than a constant 0.8 mm.
- Use generous corner radii. Bigger radii accept bigger, stiffer tools and cut stress concentration at the same time.
- Keep walls short. Height matters as much as thickness, so split tall walls with a shelf or flange.
- Avoid deep pockets between thin walls when a shallower pocket plus a cover plate would work.
Simulation helps too. A quick FEA check predicts which walls flex before any metal gets cut, and it points ribs and gussets exactly where stiffness costs least.
Finally, talk to your machine shop before release. Five-axis strategies can approach walls from angles that reduce pressure and setups, and our guide to why choose 5-axis CNC machining explains when that freedom pays off. Pairing it with the rules in our DFM guidelines gives thin wall machining its best chance of success.
Frequently Asked Questions About Thin Wall Machining
What is the minimum wall thickness for CNC machined parts?
As a starting point, use 0.8 mm for metals and 1.0-1.5 mm for plastics, on walls up to about ten times their height. Aluminum can drop to 0.5 mm on short, supported features. Share your model with the shop early, because geometry changes the real answer.
Why do thin walls chatter during machining?
A slender wall flexes under cutting pressure, then springs back, setting up a vibration loop between tool and part. The chatter marks the surface and pushes dimensions out of tolerance. Light cuts, supportive fixturing, and staggered roughing break the loop.
How can I reduce the cost of thin wall machining?
Keep walls short and tapered, add ribs for stiffness, and use generous corner radii so standard tools fit. Specify the thickest wall that still meets your weight target. Then ask the shop to review the model before quoting, because small CAD changes can cut cycle time sharply. That is the cheapest thin wall machining lever available.
Send Your Thin-Wall Part for a Free Quote
Thin features reward early collaboration. XAP Precision is an ISO 9001 certified CNC machining manufacturer in China, offering 3, 4, and 5-axis milling, turning, Swiss-type machining, gantry machining, and rapid prototyping in metals and engineering plastics.
Upload your drawing or 3D file through our contact page to get a free quote and free DFM feedback. We will review every wall, rib, and radius before the first chip flies.